Nail printers are revolutionizing the beauty industry, offering a quick and easy way to achieve intricate nail art. For beginners, selecting the right nail printer can be daunting due to the variety of models and features available. This guide will help you navigate the process and choose the best nail printer suited to your needs.
1. Understand Your Needs
Before diving into the specifications, consider your requirements:
- Purpose: Are you purchasing for personal use or starting a business?
- Frequency of Use: Will you use it occasionally or regularly?
- Budget: How much are you willing to invest?
Understanding these factors will narrow your options and ensure you choose a printer that aligns with your goals.
2. Ease of Use
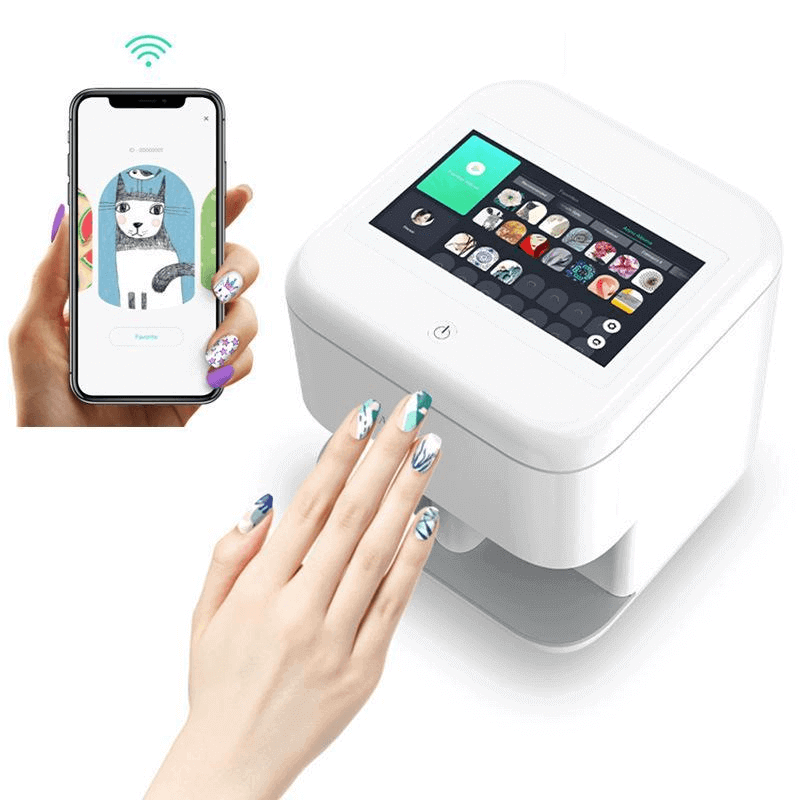
As a beginner, simplicity is key. Look for nail printers with:
- User-Friendly Interface: Touchscreen or app-based controls that are easy to navigate.
- Pre-Loaded Designs: Access to a library of templates to get started without additional effort.
- Guided Setup: Devices with clear instructions and tutorials make learning straightforward.
3. Quality of Output
The quality of the nail art is a critical factor:
- Resolution: Higher resolution (measured in dpi) ensures sharper and more detailed designs.
- Color Range: Look for printers that support vibrant and accurate color printing.
- Durability: Ensure the prints are long-lasting and resistant to chipping.
4. Compatibility

Check the compatibility of the nail printer with your needs:
- Nail Types: Some printers work only on artificial nails, while others support natural nails.
- Device Integration: Many modern printers connect to smartphones or tablets via apps. Ensure your device is supported.
5. Size and Portability
Consider where you’ll use the printer:
- Compact Models: Ideal for personal use or small workspaces.
- Portable Options: If you plan to travel or offer mobile services, opt for a lightweight and portable model.
6. Maintenance and Supplies
Maintenance can impact your overall experience:
- Cartridges and Ink: Check the availability and cost of replacement cartridges or ink.
- Cleaning: Choose models with self-cleaning features or ones that are easy to clean manually.
7. Brand Reputation and Reviews
Research brands and read reviews from other beginners:
- Customer Feedback: Look for reviews on ease of use, quality, and durability.
- Support and Warranty: Opt for brands that offer reliable customer support and a solid warranty policy.
8. Price and Value
Compare prices and features to ensure value for money:
- Budget-Friendly Models: Entry-level options are often affordable but may have limited features.
- Investing in Quality: Spending a bit more upfront can save you from frequent replacements or repairs.
Recommended Features for Beginners

- Pre-Set Templates: Ready-to-use designs to save time.
- Wide Color Palette: More creativity and customization options.
- Beginner Modes: Simplified settings to reduce the learning curve.
Final Thoughts
Choosing the best nail printer for beginners involves balancing ease of use, quality, and affordability. By considering your specific needs, researching brands, and reading reviews, you can find a device that helps you achieve stunning nail art effortlessly. Start your journey with a user-friendly and reliable nail printer, and watch your creativity flourish!
Comments
Post a Comment