In recent years, nail printers have revolutionized the world of nail art by offering professional-quality designs with minimal effort. Setting up a nail printer at home can save time and provide an opportunity to explore your creativity. Here’s a comprehensive guide to help you set up your nail printer at home and start creating stunning designs.
 |
Step 1: Choose the Right Nail Printer
Before diving into the setup process, ensure you’ve selected a nail printer that suits your needs. Look for features such as:
- Compatibility: Ensure the printer works with the type of nails you use, whether natural, acrylic, or gel.
- Connectivity: Some printers operate via Bluetooth, Wi-Fi, or USB. Choose one that’s easy to integrate with your devices.
- Ease of Use: Look for models with user-friendly interfaces and detailed instructions.
- Size and Portability: If you’re setting up at home, ensure the printer is compact enough to fit in your designated space.
Step 2: Unboxing and Inspection
Once you have your nail printer:
- Carefully unbox it and check that all parts and accessories are included.
- Read the instruction manual to familiarize yourself with the components.
- Inspect for any damage or missing items.

Step 3: Setting Up the Device
-
Choose the Right Spot:
- Place the nail printer on a stable, flat surface.
- Ensure the area is well-lit and free from dust or moisture.
-
Power It Up:
- Connect the nail printer to a power source using the adapter provided.
- Turn it on and wait for it to boot up.
-
Install the App or Software:
- Many nail printers come with a companion app or software. Download and install it on your smartphone, tablet, or computer.
- Follow the instructions to pair the device with your nail printer.
Step 4: Preparing for Printing
-
Clean Your Nails:
- Start by cleaning your nails thoroughly to remove any oils or residues.
- Apply a base coat and let it dry completely. Some printers require a specific base coat, so check the instructions.
-
Insert the Ink Cartridge:
- Open the cartridge compartment and insert the ink cartridge provided with the printer.
- Ensure it’s securely in place and follow any priming instructions.
-
Calibrate the Printer:
- Calibration ensures the design aligns perfectly with your nails. Most devices will prompt you to follow a calibration process, which involves placing a calibration tool or testing on a sample nail.
Step 5: Select Your Design
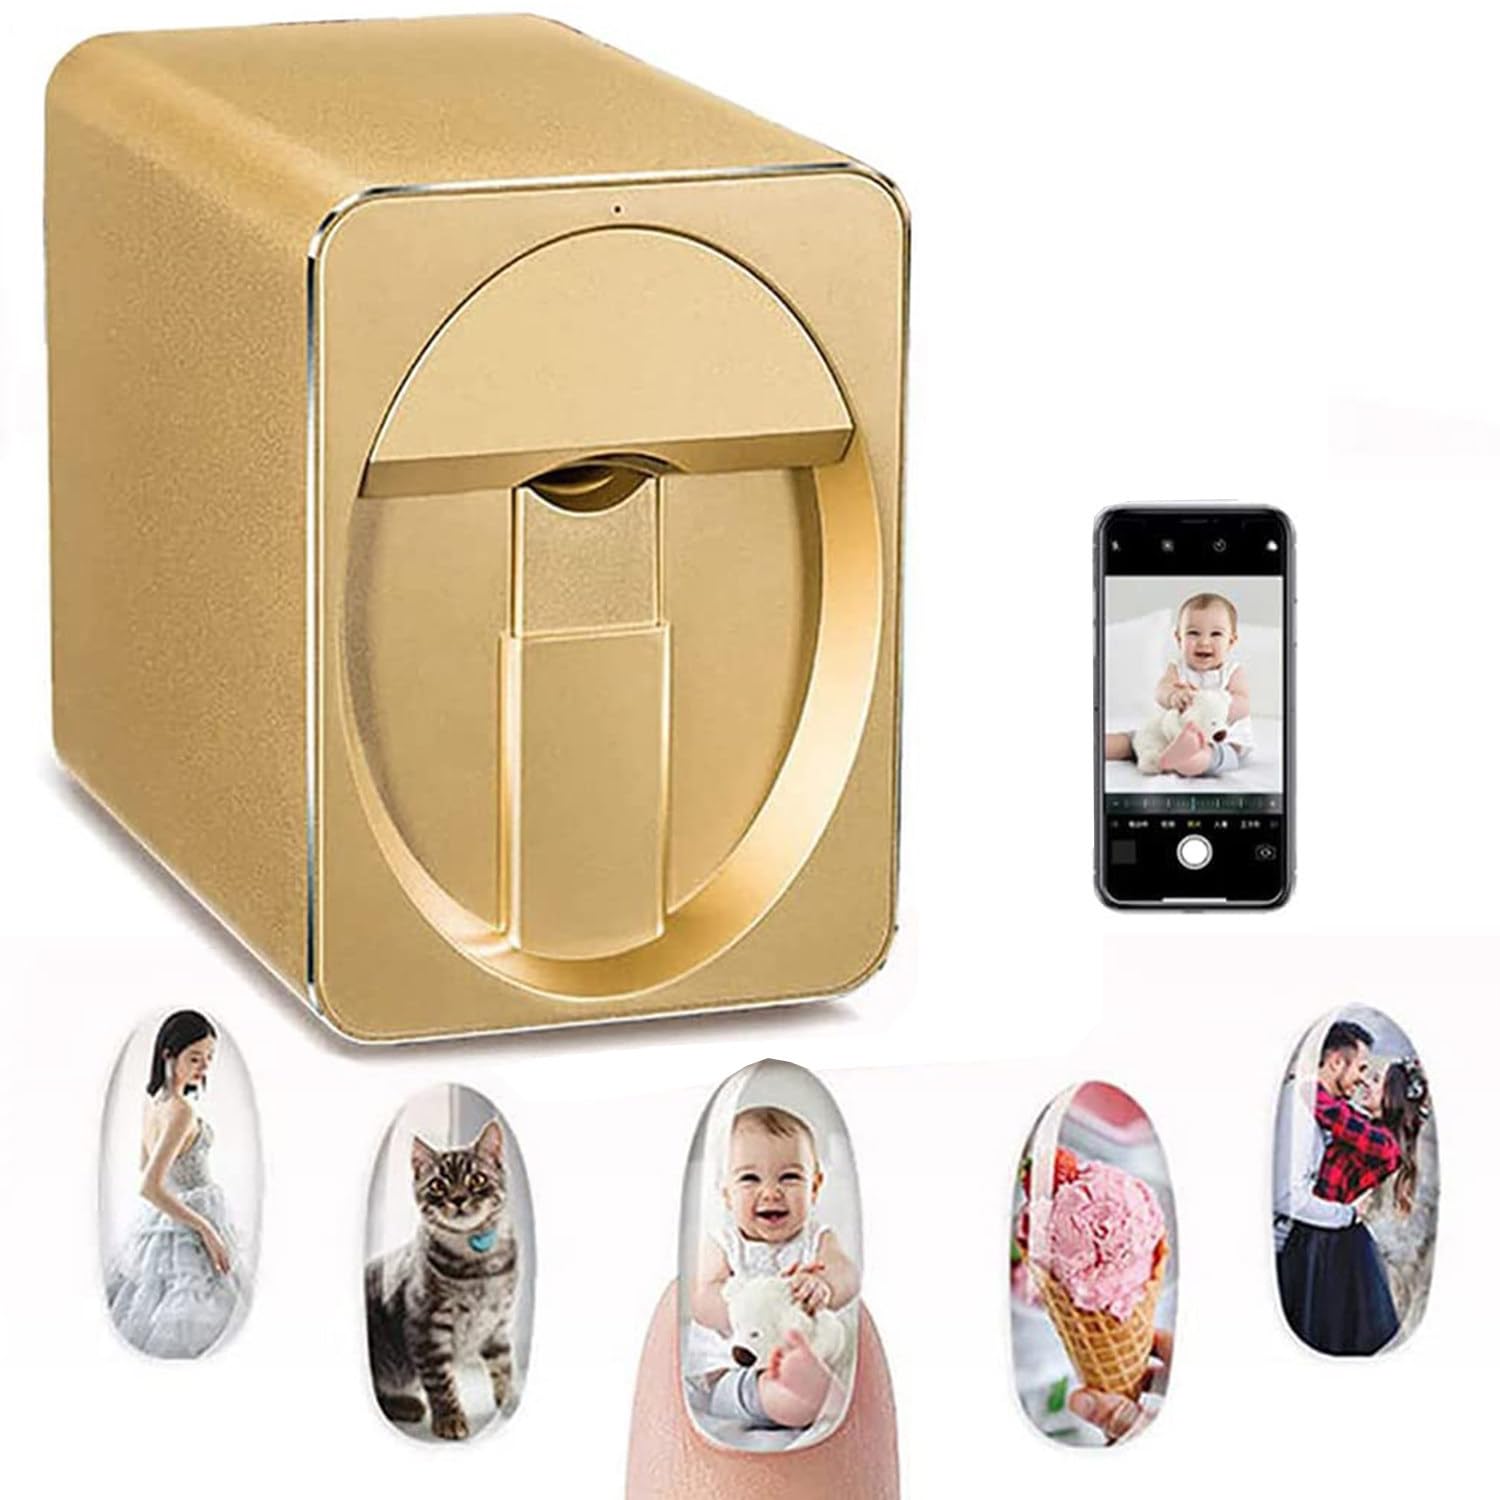
- Browse through the app or software’s library of designs. Many printers allow you to upload custom designs or photos.
- Adjust the size, color, and position of the design to fit your nail shape.
Step 6: Printing the Design
-
Position Your Finger:
- Place your finger in the designated holder or slot. Ensure your nail is aligned correctly with the printer’s guide.
- Hold your hand steady to avoid smudging.
-
Start Printing:
- Select the print option in the app or software. The device will print the design onto your nail in a matter of seconds.
- Wait for the design to dry before moving your hand.

Step 7: Finishing Touches
- Apply a top coat to seal the design and protect it from chipping.
- Allow your nails to dry completely before engaging in any activities.
Tips for Maintaining Your Nail Printer
- Clean Regularly: Wipe down the exterior and clean the cartridge area to prevent clogging.
- Use Genuine Supplies: Stick to the manufacturer’s recommended cartridges and base coats for the best results.
- Store Properly: Keep the printer covered when not in use to avoid dust accumulation.
Conclusion
Setting up a nail printer at home is an easy and exciting way to enjoy professional nail art. With a little practice, you’ll master the process and create stunning designs effortlessly. Whether for personal use or to impress friends, your nail printer will make every manicure a masterpiece!
Comments
Post a Comment