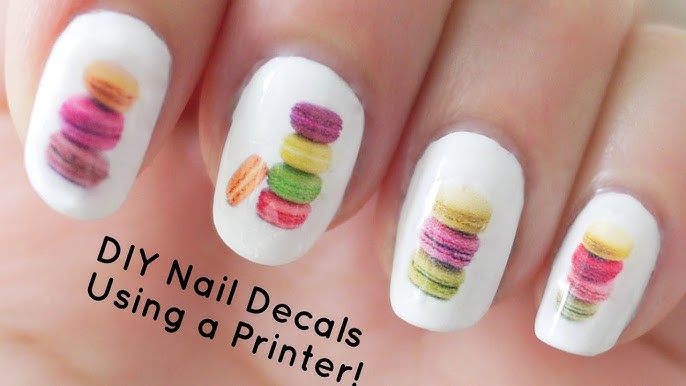
Custom nail designs have become a booming trend in the beauty industry. With advancements in technology, printing intricate nail art directly onto nails has become easier and more precise. This guide will walk you through the process of printing custom nail designs, whether you’re a professional nail technician or a DIY enthusiast.
What You’ll Need
Before starting, gather the necessary tools and materials:
- Nail Printer: A specialized device for printing designs directly on nails.
- Nail Printer-Compatible Ink: Ensure your ink is safe for use on nails.
- Base Coat and Top Coat: For prepping and sealing the design.
- Nail Polish (Optional): To create a base color.
- Nail Cleaning Tools: Alcohol wipes, nail buffer, and cuticle pusher.
- Smartphone or Computer: To upload and customize designs.
- Design Software/App: Many printers come with compatible design apps.

Step 1: Prepare Your Nails
Proper nail preparation is key for achieving smooth, long-lasting designs.
- Clean and Shape: Start by cleaning your nails thoroughly with alcohol wipes to remove oils or residue. Shape your nails with a file.
- Push Back Cuticles: Use a cuticle pusher to create a clean nail bed for the design.
- Buff the Nail Surface: Gently buff the nail to create a smooth surface for the design to adhere to.
- Apply Base Coat: A thin layer of base coat helps protect your nails and ensures the design sticks properly.
Step 2: Select Your Design
The fun begins with choosing or creating your design!
- Browse Pre-Loaded Designs: Many nail printers come with built-in design libraries.
- Upload Custom Images: Use the printer’s app to upload your own artwork or photos.
- Customize the Design: Adjust the size, color, or orientation to match your nail shape and size.

Step 3: Set Up the Nail Printer
Follow these steps to get your printer ready for action:
- Connect to the App: Sync your nail printer with your smartphone or computer.
- Load Ink: Ensure the printer is equipped with the appropriate ink cartridge.
- Adjust Nail Holder: Position the nail holder to securely hold your finger in place.
- Calibrate the Printer: Use the calibration tools provided to ensure accurate printing.
Step 4: Print the Design
Now it’s time to transfer your chosen design onto your nails!
- Place Your Finger in the Holder: Make sure your finger is steady to avoid smudges.
- Start the Printing Process: Press the start button in the app or on the printer.
- Wait for Completion: The process usually takes a few seconds per nail.
Step 5: Finish with a Top Coat
Protect your design and give your nails a polished look.
- Apply a Top Coat: Carefully apply a clear top coat over the design to seal it in place.
- Cure Under UV Light (If Needed): Some top coats require curing under a UV lamp for added durability.
- Clean Up Edges: Use a small brush dipped in nail polish remover to clean up any excess polish or design around the edges.
Tips for Success
- Test Prints: Practice on artificial nails before printing on your own nails.
- Keep Nails Steady: Movement during printing can cause smudges.
- Use High-Quality Ink: Ensure your ink is safe and designed for nail use.
- Experiment: Try different designs, gradients, or layering techniques for unique looks.
Final Thoughts
Printing custom nail designs is an exciting way to express creativity and personalize your style. With the right tools and a bit of practice, you can achieve professional-quality nail art from the comfort of your home. Whether for a special occasion or everyday glam, custom-printed nails are sure to turn heads!
Have you tried printing your own nail designs? Share your tips and experiences below!
Comments
Post a Comment