Nail printers are revolutionizing the nail art industry by combining technology and creativity to deliver intricate, custom designs in a matter of minutes. Whether you're a professional nail technician or a DIY enthusiast, learning to use a nail printer can elevate your nail art game. Here's a comprehensive step-by-step tutorial to guide you through the process.
What is a Nail Printer?
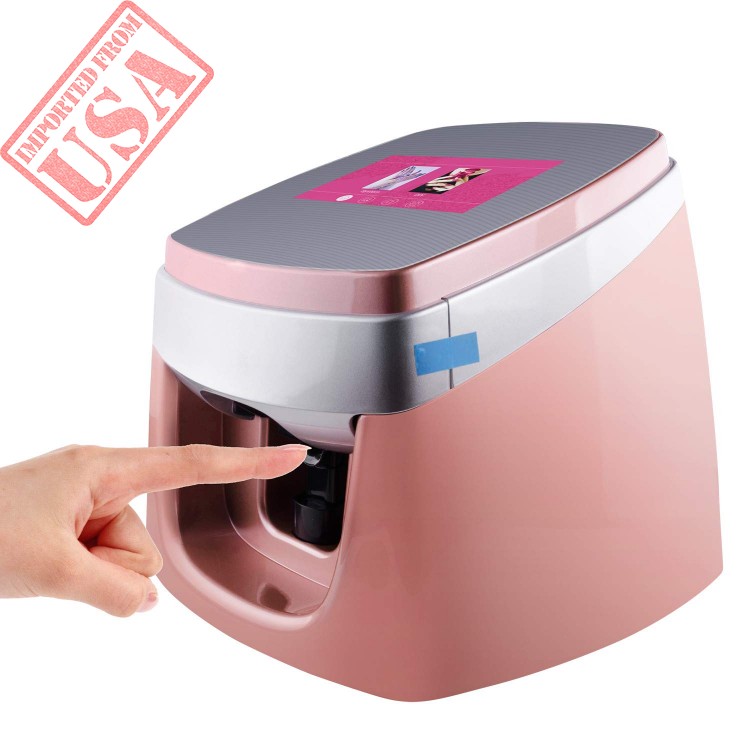
A nail printer is a digital device that prints pre-designed patterns or custom artwork directly onto fingernails. These machines use inkjet technology, similar to a

Step-by-Step Guide to Using a Nail Printer
Step 1: Prepare Your Workstation
Before starting, make sure you have all the necessary tools and supplies, including:
- The nail printer
- Printing ink or cartridges
- Base coat, top coat, and any necessary primers
- Nail art design software or a compatible app (if needed)
- Cotton swabs and isopropyl alcohol for cleaning
Place the nail printer on a stable surface with good lighting. Ensure the printer is connected to a power source and any required software is installed.
Step 2: Prepare the Nails
Proper nail preparation is crucial for achieving long-lasting, high-quality prints. Follow these steps:
- Clean the Nails: Remove any old nail polish and clean the nails thoroughly with isopropyl alcohol.
- Shape the Nails: File the nails into the desired shape and smooth the surface with a buffer.
- Apply a Base Coat: Use a base coat to create a smooth surface and improve ink adhesion. Allow it to dry completely.

Step 3: Select Your Design
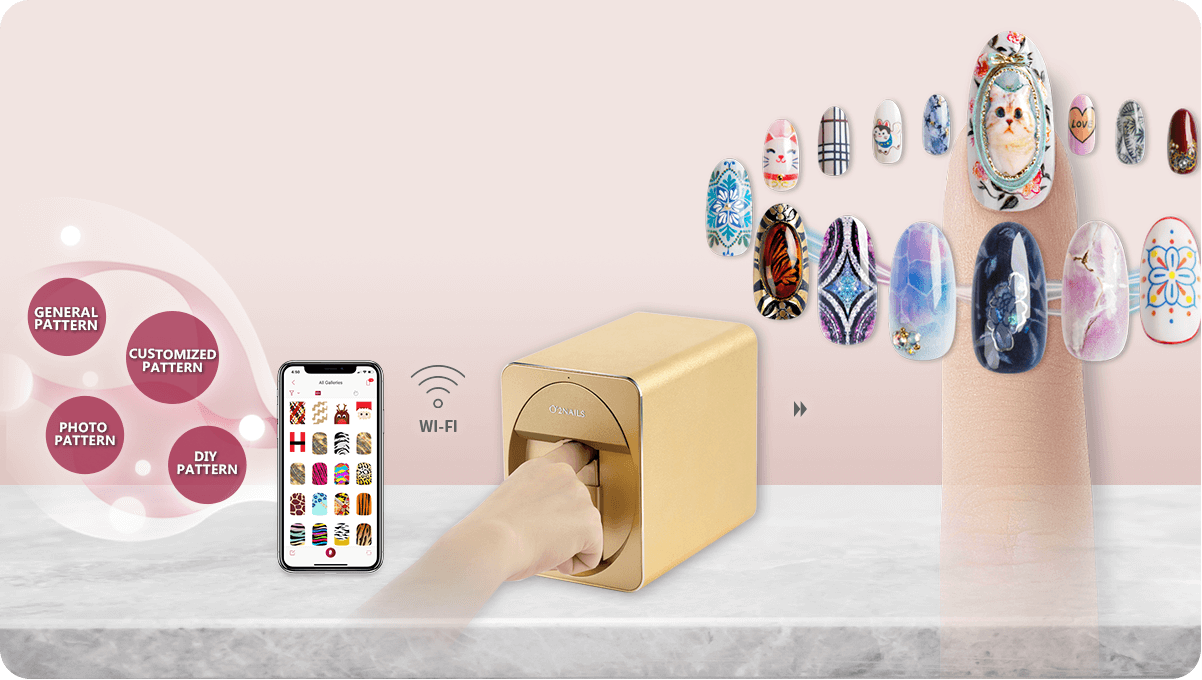
Most nail printers come with pre-installed design templates, and many allow you to upload custom designs. To choose a design:
- Browse through the printer's software or app to select a design.
- Customize colors, patterns, or text if the software supports it.
- Resize the design to fit the nail size.
Some advanced nail printers allow you to take photos or draw directly within the app for fully personalized nail art.
Step 4: Position the Nails in the Printer
Carefully place your hand or individual nail tips into the printer's designated area. Follow these tips:
- Ensure the nails are aligned correctly to match the design layout.
- Use any provided guides or holders to stabilize the nails.
- Check the printer's preview feature (if available) to confirm the positioning.
- Initiate the printing through the printer's control panel or connected app.
- Wait for the machine to print the design onto each nail. This usually takes a few seconds per nail.
- Avoid moving your hand until the process is complete to prevent smudging.

Step 5: Print the Design
Once everything is set up, start the printing process:


- Apply a clear top coat evenly over each nail.
- Allow it to dry under a UV/LED lamp if required, or let it air dry for regular top coats.
- Wipe down the printer and its components with a soft cloth.
- Remove any residual ink from the nozzles or print area.
- Store the printer in a cool, dry place.
Step 6: Apply a Top Coat
After printing, seal the design with a top coat to protect it and enhance durability. Follow these steps:
Step 7: Clean and Maintain the Printer
Proper maintenance ensures the longevity of your nail printer. After use:

- Always use the ink and supplies recommended by the printer manufacturer.
- Practice on sample nail tips before printing directly on your nails.
- Keep your hands steady during the printing process to avoid errors.
- Experiment with different designs and colors to discover new styles.
Tips for Best Results
Conclusion
Nail printers make intricate nail art accessible to everyone, eliminating the need for advanced painting skills. By following this step-by-step tutorial, you'll be able to master the art of nail printing and create stunning designs with ease. Whether you're a professional or just experimenting at home, a nail printer is an investment in creativity and convenience.
So, get your nail printer ready, unleash your creativity, and let your nails become your canvas!
Comments
Post a Comment