
Nail art has become a favorite way to express creativity and celebrate different seasons. With the rise of nail printers, designing intricate and themed holiday nail art has never been easier! Whether you're getting ready for Christmas, Halloween, Valentine's Day, or any other festive occasion, a nail printer can help you achieve stunning, professional-looking designs in minutes. Here are some fun and creative holiday nail art ideas to try with your nail printer.
Christmas Nail Art Ideas
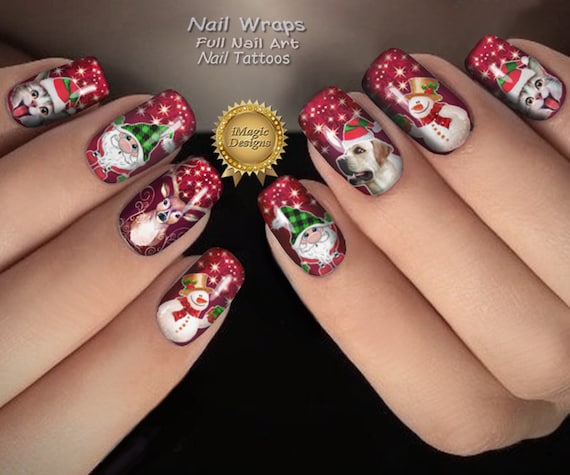
Christmas is the perfect time to show off festive nail art. With a nail printer, you can easily create detailed and unique holiday-themed designs. Some ideas include:
Classic Christmas Patterns: Print intricate snowflakes, candy canes, or Christmas tree designs.
Santa & Reindeer: Go all out with Santa Claus, Rudolph, and festive elves on your nails.
Holiday Plaid & Sweater Patterns: Cozy up your nails with red-and-green plaid or fair isle sweater designs.
Glitter & Metallic Effects: While nail printers apply the designs, you can top them with glitter polish for a sparkling finish.

Halloween Nail Art Ideas
For Halloween, spooky and fun nail designs can elevate your costume or simply add a festive touch. Try these eerie and eye-catching designs:
Pumpkins & Ghosts: Print cute or spooky jack-o'-lanterns, ghosts, and bats.
Haunted House Scenes: Get detailed haunted mansions, creepy trees, and full moons for an eerie effect.
Spider Webs & Skulls: Classic Halloween elements like spider webs, skeletons, and skulls can be easily printed.
Glow-in-the-Dark Designs: Use glow-in-the-dark topcoats over printed spooky designs for an extra eerie vibe.

Valentine’s Day Nail Art Ideas
Love is in the air, and what better way to celebrate than with romantic nail art? Some beautiful Valentine's Day ideas include:
Hearts & Roses: Print delicate hearts, roses, or love notes on your nails.
Love Messages: Add words like “Love,” “XOXO,” or “Be Mine” for an adorable touch.
Cupid & Arrows: Incorporate cute Cupid-themed art with bows and arrows.
Pink & Red Ombre: Create a soft ombre background and print over it for a dreamy effect.

Easter Nail Art Ideas
Pastel colors and adorable designs are perfect for Easter nail art. Try these cute ideas:
Easter Bunnies & Chicks: Print playful bunny and chick designs.
Easter Eggs: Go for colorful, patterned Easter egg designs on your nails.
Spring Florals: Light pastel floral prints bring a fresh and elegant touch to your nails.

Tips for Using a Nail Printer for Holiday Nail Art
Choose High-Quality Images: The better the image resolution, the more detailed your design will be.
Use a White Base Coat: A light base helps the printed design pop and stay vibrant.
Seal with a Top Coat: This ensures the design lasts longer and maintains its glossy look.
Experiment with Layers: You can combine hand-painted elements with printed designs for a unique touch.
Match Your Nails to Your Outfit: Coordinate your nail designs with your holiday outfit for a complete festive look.
Conclusion
Nail printers make it easy to create stunning holiday nail art without the hassle of intricate hand-painting. Whether it's Christmas, Halloween, or another special occasion, you can achieve professional-level nail art in minutes. So, get creative and let your nails be the ultimate accessory this holiday season!
Comments
Post a Comment